To draw a zebra, start with a basic horse outline. Add distinct black and white stripes.
Drawing a zebra can be both fun and challenging. Begin by sketching a simple horse shape. This forms the base for your zebra. Pay attention to proportions and basic anatomy. Once the outline is complete, focus on the zebra’s unique stripes.
Use reference images to ensure accuracy. Stripes on a zebra are not uniform; they vary in width and shape. This adds a level of complexity to your drawing. Use a pencil for initial sketches, then go over with ink or a darker pencil. Practice regularly to improve your skills. Drawing a zebra helps enhance your understanding of animal anatomy and pattern design.

Credit: www.pinterest.com
Gearing Up For Zebra Artistry
Drawing a zebra can be fun and rewarding. Zebras have unique stripes and elegant forms. To start, gather the right tools and understand zebra anatomy. This ensures your drawing looks accurate and vibrant.
Choosing The Right Art Supplies
To draw a zebra, you need the right supplies. Here’s a list of essential items:
- Pencils: Use a range from HB to 6B for shading.
- Eraser: A kneaded eraser works best for lightening lines.
- Paper: Choose smooth, heavy paper for best results.
- Blending Stumps: These help in blending the shades.
- Ruler: Useful for maintaining proportions.
Understanding Zebra Anatomy For Accurate Depictions
Understanding zebra anatomy helps in creating lifelike drawings. Here are key points to consider:
| Body Part | Description |
|---|---|
| Head | Long and narrow with expressive eyes. |
| Neck | Strong and slightly arched. |
| Body | Rounded with a distinct rib cage. |
| Legs | Long and slender, built for running. |
| Stripes | Unique to each zebra, no two are the same. |
Focus on each part when drawing. This ensures every detail is accurate and realistic. Understanding these basics makes your zebra drawing come to life.
The Pencil Sketch: Laying The Foundation
Starting your zebra drawing with a pencil sketch lays the critical foundation. This step helps you map out the basic shape and add details and proportions. Let’s break it down step-by-step.
Mapping Out The Basic Shape
Begin by lightly sketching the main parts of the zebra. Draw a large oval for the body and a smaller oval for the head. Connect these shapes with a smooth line for the neck. Add four lines for the legs, ensuring they are evenly spaced.
Next, draw a small circle at the top of the head oval for the ears. Sketch a line from the head to the body to outline the mane. These basic shapes will guide you in adding details later.
Adding Details And Proportions
Now, refine your sketch by adding details and adjusting proportions. Start with the head. Draw the eyes, nostrils, and mouth. Ensure the eyes are large and expressive.
Move on to the body and legs. Add muscle definition and refine the shape of the legs. Sketch hooves at the end of each leg. Draw the tail, making it slightly curved with a tuft at the end.
For the mane and ears, add more details. Make the mane spiky and the ears pointed. Adjust the proportions if needed to make your zebra look realistic. Your pencil sketch is now ready for the final touches.
Mastering Zebra Stripes
Drawing a zebra can be fun and challenging. The most distinctive feature of a zebra is its unique stripes. Mastering these stripes is essential for an accurate representation. Each stripe adds character and realism. Let’s dive into the techniques and tips for creating perfect zebra stripes.
Techniques For Drawing Stripes
First, observe real zebras or photos. Notice how stripes vary in width and direction. Use a pencil to sketch the basic shape of the zebra. This includes the head, body, legs, and tail.
Next, lightly draw guidelines for the stripes. These lines should follow the zebra’s body contours. Keep the lines natural and fluid. Stripes are not perfectly straight or symmetrical.
- Start with the head and neck.
- Move down to the body and legs.
- Finish with the tail.
Remember, stripes on the legs are usually thinner. Stripes on the body are wider.
Creating Texture And Dimension
To add texture, vary the pressure on your pencil. Press lightly for softer lines and harder for darker lines. This creates a sense of depth and dimension.
Blend some areas with a blending stump or your finger. This will give a realistic look to the stripes. Pay attention to the direction of the fur. Stripes should follow the natural flow of the zebra’s body.
Use shading to enhance the three-dimensional effect. Darken areas where shadows would naturally fall. Lighten areas that catch more light.
Here is a simple table for a quick reference:
| Step | Description |
|---|---|
| 1 | Observe real zebras or photos. |
| 2 | Sketch the basic shape. |
| 3 | Draw guidelines for the stripes. |
| 4 | Vary pressure for texture. |
| 5 | Blend for realism. |
Practice makes perfect. Try drawing zebras from different angles. Experiment with different stripe patterns. Soon, you’ll master the art of zebra stripes!

Credit: www.wikihow.com
Bringing Your Zebra To Life With Color
Adding color to your zebra drawing makes it look real. This section will help you pick colors and blend them for a lifelike zebra.
Selecting A Color Palette
A zebra is black and white. But you can use different shades.
- Use various grays for shadows.
- Add browns for a warmer look.
- Include some light blues for highlights.
Below is a simple table for your palette:
| Color | Usage |
|---|---|
| Black | Stripes |
| White | Base color |
| Gray | Shadows |
| Brown | Warmth |
| Light Blue | Highlights |
Shading And Blending For Realism
Shading makes your zebra drawing look three-dimensional. Start with a light touch.
- Use a gray pencil for shadows.
- Blend the gray with a white pencil.
- Add brown to areas needing warmth.
Blending is easy with the right tools. Use your fingers or a blending stump. This makes the colors look smooth.
Remember to add light blue for highlights. It gives your zebra a real look.
Finishing Touches And Presentation
Once you’ve sketched the zebra, it’s time for the finishing touches. This stage brings your drawing to life. It also prepares it for presentation. We’ll guide you through refining your artwork and displaying it effectively.
Refining The Final Artwork
Begin by cleaning up any stray lines. Use an eraser to remove unnecessary marks. Focus on the zebra’s stripes. Make them bold and consistent. This will make your zebra stand out.
Next, add shading and texture. This gives depth and dimension. Use light strokes for shading. Pay attention to the zebra’s body curves. This highlights its natural shape. Use a blending tool to smoothen the shades.
Consider adding a background. A simple savanna scene works well. It provides context and enhances your drawing. Keep the background light. This ensures the zebra remains the focal point.
Displaying Your Zebra Drawing
Once your zebra drawing is complete, it’s ready for display. Choose a good frame. A simple black or white frame works best. It complements the black and white zebra.
Consider the placement. Hang it at eye level. This ensures it’s easily visible. A well-lit area works best. Natural light enhances the drawing’s details.
Alternatively, create a digital version. Scan your drawing. Use photo editing software to enhance it. This allows you to share it online. Social media platforms are great for showcasing your work.
Finally, protect your artwork. Use a fixative spray. This prevents smudging and fading. It ensures your drawing stays beautiful for a long time.
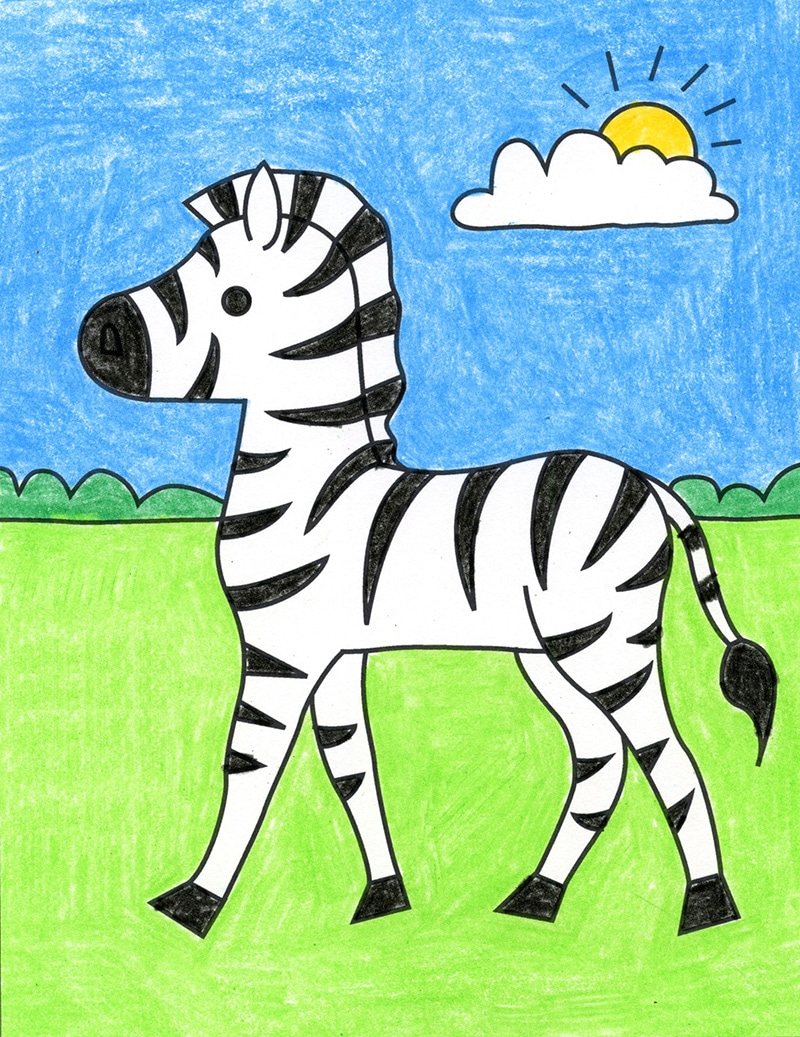
Credit: artprojectsforkids.org
Conclusion
Creating a zebra drawing can be both fun and rewarding. Follow the steps, practice, and improve your skills. Soon, you’ll have a beautiful zebra illustration to be proud of. Remember to add unique details and enjoy the process. Happy drawing!