To sketch a zebra, start with basic shapes to outline its body. Add stripes and refine the details.
Sketching a zebra can be a fun and rewarding artistic endeavor. Begin by drawing simple geometric shapes to represent the zebra’s head, body, and legs. This foundational step helps to ensure accurate proportions. Next, focus on adding the zebra’s distinctive stripes, which follow the contours of its body.
Pay close attention to the pattern, as no two zebras have the same stripe design. Use varying line thicknesses to give depth and realism to your sketch. Finally, refine the details, such as the mane, tail, and facial features, to bring your zebra to life. Practice and patience are key to mastering this art form.
Gathering Your Art Supplies
Before starting your zebra sketch, gather the right art supplies. The right tools can make a big difference in your drawing.
Choosing The Right Pencils
Picking the right pencils is crucial. Use a range of pencils for different effects. A HB pencil works well for outlines. For shading, use 2B to 6B pencils. They are softer and provide darker lines.
Selecting Paper Type
The paper you choose affects your sketch. Use smooth paper for fine details. Choose textured paper for a more artistic look. A sketchbook with high-quality paper is ideal. It prevents smudging and tearing.
Additional Tools For Detailing
Other tools help make your sketch perfect. Use an eraser for clean corrections. A blending stump helps with smooth shading. Fine-tipped black pens add sharp details.
| Tool | Purpose |
|---|---|
| HB Pencil | Outlines |
| 2B to 6B Pencils | Shading |
| Smooth Paper | Fine Details |
| Textured Paper | Artistic Look |
| Eraser | Clean Corrections |
| Blending Stump | Smooth Shading |
| Black Pens | Sharp Details |
Understanding Zebra Anatomy
Sketching a zebra starts with understanding its unique anatomy. Zebras have distinctive features that make them stand out. By studying their body proportions and key features, you can create an accurate representation.
Proportions Of The Zebra Body
Begin by noting the proportions of a zebra’s body. Zebras have a strong, muscular build. Their body is divided into three main sections:
- Head
- Torso
- Legs
The head is small compared to the torso. The torso is robust and slightly elongated. The legs are long and slender, perfect for running fast.
To help you, here’s a table showing the average proportions:
| Body Part | Proportion |
|---|---|
| Head | 1/5 of the body length |
| Torso | 2/5 of the body length |
| Legs | 2/5 of the body length |
Distinctive Features To Capture
To make your zebra sketch realistic, focus on distinctive features. Here are some key elements:
- Stripes: Zebras are known for their black and white stripes. Each zebra has a unique pattern.
- Manes: Zebras have short, upright manes. The mane follows the neck’s curve.
- Tail: The tail is thin with a tuft of hair at the end.
- Ears: Zebras have large, pointed ears. The ears are very expressive.
Pay close attention to these features. They will bring life to your sketch.
Use light lines to sketch these details initially. This way, you can adjust as needed without making a mess.
Starting With Basic Shapes
Sketching a zebra might seem challenging, but it’s easier than you think. Start by breaking the zebra into basic shapes. This step is crucial for creating a realistic sketch. Let’s dive into how to begin with simple shapes.
Creating The Skeleton Framework
Begin by drawing a few basic shapes. Use circles, ovals, and rectangles to form the zebra’s body. Draw an oval for the head and a larger one for the body. Connect them with a straight line for the neck. Add four lines for the legs and a small oval for the tail.
| Body Part | Shape |
|---|---|
| Head | Oval |
| Body | Large Oval |
| Neck | Line |
| Legs | Lines |
| Tail | Small Oval |
Refining The Outline With Muscle Structure
Now, refine the shapes into a zebra’s outline. Add curves to represent muscles. Focus on areas like the neck and legs. Draw smoother lines over the basic shapes. This step adds realism to your sketch.
- Curve the neck line into a thicker shape.
- Add muscle details to the legs.
- Outline the head with more precise curves.
- Draw a thicker, more realistic tail.
These refinements help your zebra look more lifelike. Keep your lines light and easy to erase. This way, you can make adjustments as needed.

Credit: www.pinterest.com
Adding Patterns And Textures
In this section, we will dive into adding patterns and textures to your zebra sketch. Patterns and textures bring your drawing to life. They make it look realistic and interesting.
Sketching The Stripes Accurately
Stripes are a key feature of a zebra. To sketch the stripes accurately, follow these steps:
- Start by observing real zebra photos.
- Notice the unique pattern each zebra has.
- Use light pencil strokes to outline the stripes.
- Ensure the stripes follow the zebra’s body shape.
- Stripes should be thicker in the middle and taper at the ends.
Avoid making the stripes too symmetrical. Natural stripes are irregular. This adds to the realism of your sketch.
Creating The Illusion Of Fur
The zebra’s fur adds texture to your sketch. Here’s how to create the illusion of fur:
- Use short, quick pencil strokes to mimic fur.
- Vary the direction of your strokes.
- Layer your pencil strokes to add depth.
- Darken areas where shadows fall to show texture.
- Keep lighter strokes where light hits the fur.
Using a blending tool can help soften the fur texture. This gives a more realistic look. Pay attention to the areas around the neck and mane. These parts have thicker fur.
| Element | Tips |
|---|---|
| Stripes | Thicker in the middle, taper at ends, irregular patterns |
| Fur | Short strokes, varied direction, layer for depth |
Remember to keep practicing these techniques. Your zebra sketches will improve over time. Happy sketching!
Final Touches And Shading Techniques
You’ve drawn the basic shape of the zebra. Now it’s time to add the final touches. Shading can make your zebra look more realistic. Follow these steps to bring your sketch to life.
Enhancing Realism With Shadows
Shadows give depth to your drawing. They make the zebra look three-dimensional. Focus on areas where light doesn’t hit directly.
- Shade under the belly
- Darken the insides of the legs
- Add shadows behind the ears
Use a softer pencil for shadows. This helps to blend better.
Tips For Blending And Smoothing
Blending and smoothing can make your shading look natural. You can use several tools for this.
| Tool | Purpose |
|---|---|
| Blending Stump | For softening harsh lines |
| Cotton Swab | For small areas |
| Tissue | For large areas |
Start with light pressure. Gradually build up the darkness. This way, you avoid harsh lines.
Remember to step back and look at your drawing. This helps you see areas that need more blending.
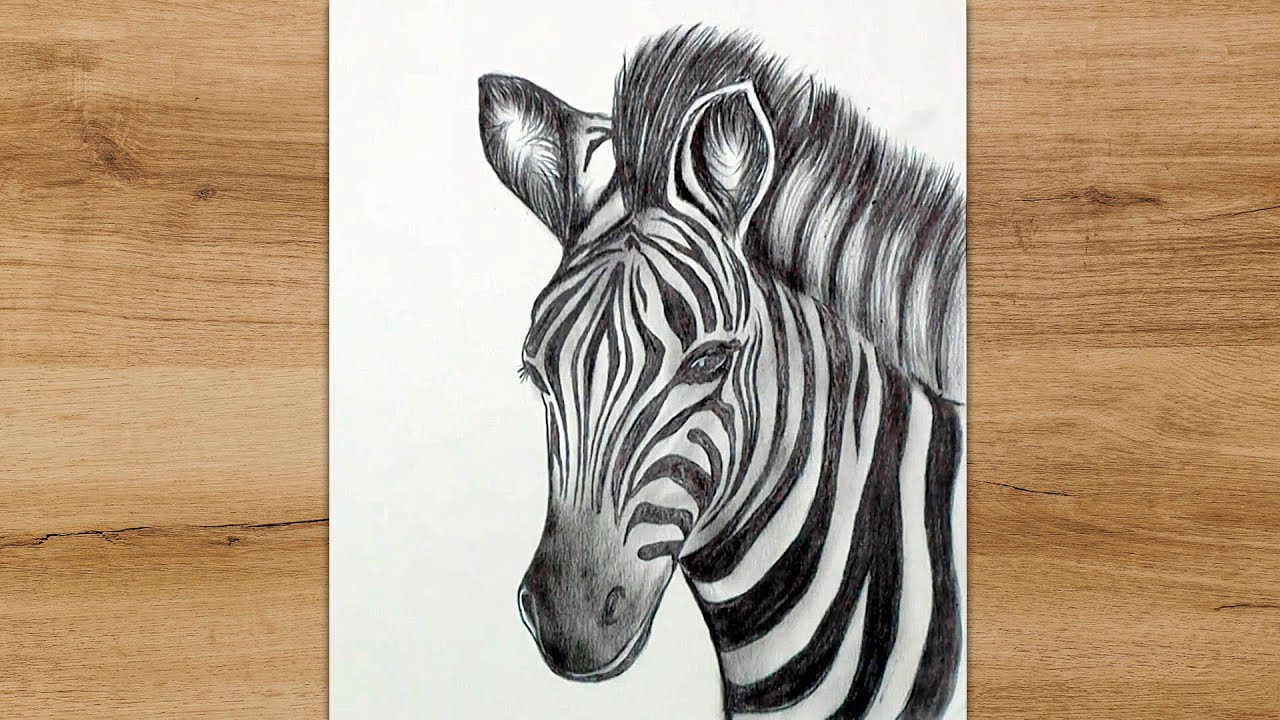
Credit: www.youtube.com
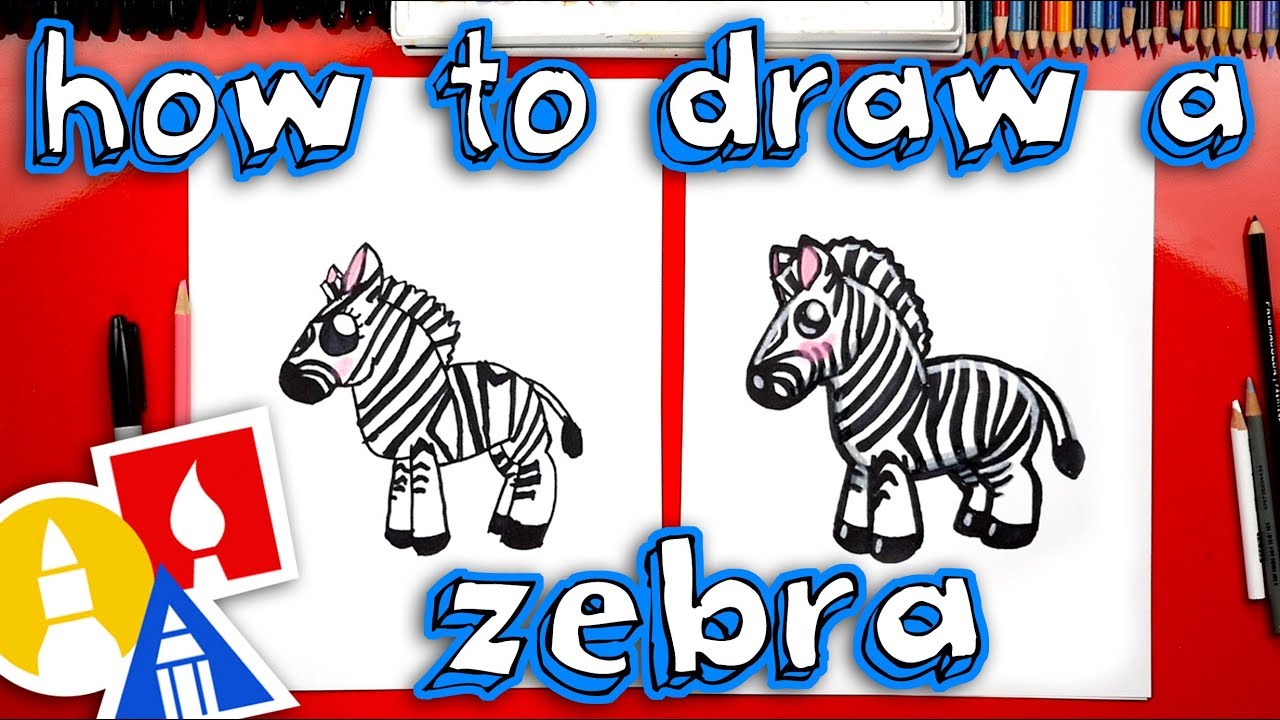
Credit: m.youtube.com
Conclusion
Mastering the art of sketching a zebra takes practice and patience. Use reference images for accuracy. Focus on capturing the unique stripes and graceful form. With dedication, your zebra sketches will improve. Keep experimenting with different techniques. Enjoy the creative journey and share your work with others.
Happy sketching!